
As usual, I actually tried to find more tutorials on it online but unfortunately there weren't many that I thought was great. I think Abby's tutorial was still the best option of them all even though there were some page navigations to be done at times and I was hoping to avoid that. Regardless, I set my mind to it and voila! My little beauty now has a new sleeping sack!
Before moving on to the sleeping bag project of mine, I will share a few photos from my precious new fat quarter stash. Aren't they just amazing? I can look at them with a smiley face and some wildly running ideas in mind for hours and wouldn't even recognise it has been hours!
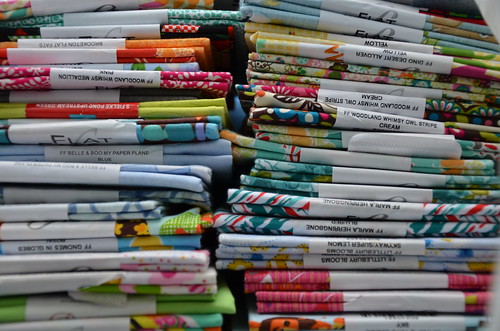
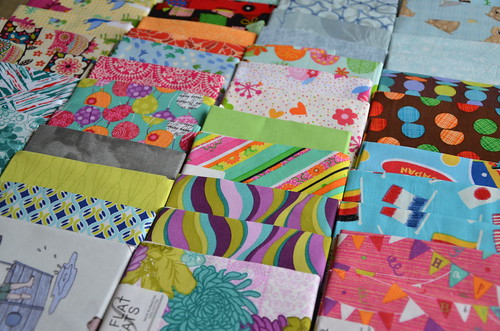
Now, this much drooling over the gorgeous fabrics of mine should be enough. Lets move on to the actual topic of this post: an upcycling project of turning some baby blankets into a sleeping bag.
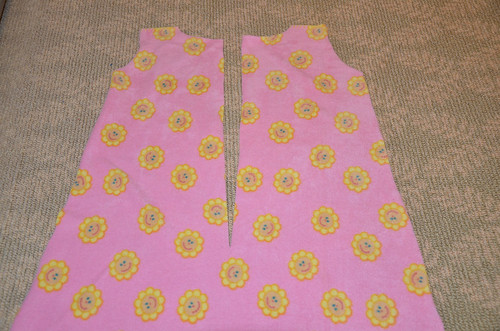
Here is how I have made it. I first made a rough pattern on some newspaper pages using one of Miss Junior's sleeping bags. Unfortunately, I made the mistake of making the neck too big at this stage and I only noticed it after I pretty much completed the project. Too late to change it but it is still OK for me as even Mr. Junior wants to wear it at times. It fits him as well. Also, it is all about learning, isn't it? It has taught me a lesson and I am happy to take it. I now know what not to do next time.
Then, I pinned the paper pattern onto some of my children's baby blankets that weren't in much use anymore. I particularly chose the warm materials. I had a pink and a small blue fleece blanket for the outer, and some soft thick 100% cotton blankets for the lining inside.

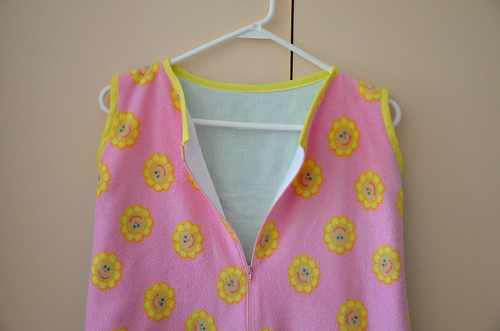
I must say, for me, the trickiest part was the decision of how to place the zipper and also make it reversible. After a few trials, I think the zipper worked well, but not so reversible (the installation of the zipper was easy, it was the planning of it that was challenging for me). For the ones who have dreaded working with a zip, don't! It is actually surprisingly easy to install one. If you don't believe people who say 'trust me', then just do a quick search online and you will find lots of tutorials on it. Here is only one of the videos that you may find useful (it has brief information on different types of 'feet' for a particular branded sewing machine but also explains how to install a zipper as well). Otherwise, if you would rather prefer pictorial tutorials, you can try this link.
Unlike the tutorial, I cut the two front fabrics (both the pink fleece and also the cotton lining) in half upto the point where my zip was going to end as the zip I had was shorter than the whole length of the sleeping bag but was definitely a good size for my daughter to get in and out easily. Then, I tried to follow the tutorial with the rest of the project.
I was hoping to make it reversible initially, just like the very skillful Abby has made it, but I couldn't (I had to go back and forth to another site here and I didn't have that much time for it). So, I kept going and instead, used some bias tape around the neck and the armholes to give it a professional finish. I must also admit that it was also because I actually really like this finish. It just gives it a more character and adds value to it.
I may also add some fabric cover over the zipper on top of the sleeping bag to make it harder for my daughter to open it. I can close it with a snap fastener or a button.
Since my pink blanket was larger than what I needed at the front and my blue piece was not big enough for the back, I simply used a bit of both at the back.

Here are a few notes for myself for the next time:
* Your daughter is petite. This sleeping bag will possibly fit her until she is at least a teenager. You can aim for a smaller fit next time.
* As you have noticed after trying it on yourself, the neck suits you perfectly well. Since it is originally made for your 2 year old daughter, not for yourself, make sure you make the neck-hole much smaller next time.
* Follow instructions well. Do not get lazy. Otherwise, be happy with your 'not-so-reversible' sleeping bag.
Make something that you enjoy making today!
7 comments:
I think it looks wonderful :) and warm! Which is the important thing hehe xx
Love, love, love it. And Things for Boys tutorial. I made one as well and have more on the horizon. I love that you used her old blankets!
Thank you Toni-Maree and Mel for your lovely comments. I think it will do the job for sure and I can confidently say that it will be one of the favourites during cold nights. It really is very soft and warm.
I am so glad to have found Abby's tutorial for sure! After making this one, I think I will be making at least one more. I have actually bought some nice batting inside to make a warm one but I first wanted to try my hand at it using 'not-as-dear' materials. However, my next may be a lighter weight one. We shall see.
Great work! I love the look of the bias tape (I avoid using it at all costs). Also love the way you did the zip.
Thanks Abby (both for your comment and your tutorial)! I actually really like the look of bias tape on most projects but this time, it was more of a necessity rather than an option for me :-) I still need to work on the 'reversible' part of this project!
That looks great, job well done and I bet she looks so cute snuggled up in it :)
Oh, thank you Vicki. She actually hasn't ended up having much time using it yet as her 4 year old brother claimed it to be his! Oh well, at least they both are happy with it.
Post a Comment
I love comments. Thank you for leaving one!