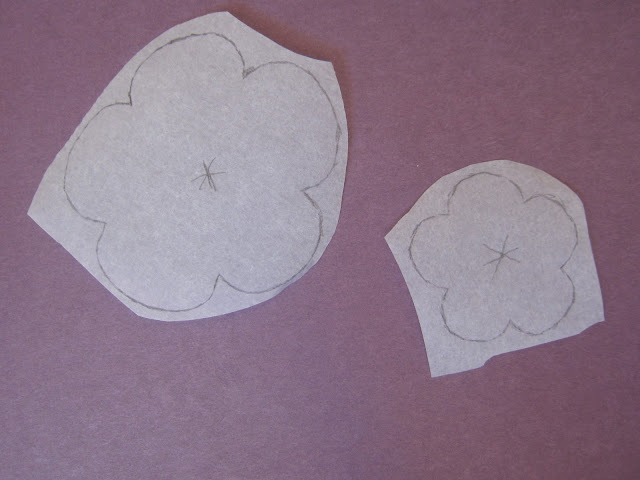
Using double sided fusible interfacing, it is very easy to make appliques. Here are some simple instructions for you.
Materials needed:
- Double sided fusible interfacing
- Fabric of your choice
- A shape/an applique pattern
- A pen/pencil
- Scissors
- Iron
- A needle (optional)
Instructions:
1. Draw a shape/a pattern on the 'paper' side of your double sided interfacing (It has two sides; one shiny side and one dull and smooth side which is I will be hereafter referring as the 'paper side').
2. Cut your shape out roughly.
3. Place your shape on the 'wrong' side of your fabric ('wrong side' refers to the side that doesn't have a pattern and is the size that will stay inside). Don't forget, the paper side of your interfacing needs to face you while the shiny side touches the fabric.
4. Turn on your iron. Fusible interfacing comes with instructions and it is best to follow them. Otherwise, set your iron to medium to high heat and start ironing (dry iron). It should not take long. Mine takes less than a minute (or perhaps half a minute) to work. Don't forget to give it a break though. I generally do mine about 8-10 seconds at a time and I do it only a few times for it to work.
5. Cut your fabric. This time, you need to cut carefully and cut the exact pattern/applique shape.
6. Using a needle, peel the paper backing from the applique piece.
7. Lastly, place the wrong side of your pattern/applique where you want it to be on the main fabric and iron it on, again for less than a minute. Some interfacing allows (or requires) you to sew on as well but with my double sided interfacing, you don't have to. It is only optional.
Here are a few examples for you to enjoy.


9 comments:
Great tutorial, I prefer not sewing them on :) such pretty bibs
Thank you Mel :-)
Thanks for such clear instructions and helpful photos. Can't wait to try this!
My pleasure Competent Kids. It is quite fun and I hope you make the most of it!
Would would I go about appliquéing large letters (3) on the front of a bowling shirt? It would need to be split somewhere on the middle letter…… tia
avmelodies, here is what I can suggest you. Apply Vlisofix to the back of the fabric, cut your letters and then apply to the shirt front with it done up. Cut where the shirt front opens and applique stitch around the letters. Also remember to take the buttons and button holes into account!
Thanks Cindy.
Thanks Leslie, good to hear. The answer to your question is I have customised the blog myself.
Interfacing Technologies Corporation is a dynamic Montreal-based software firm that develops & provides business process management solutions to enterprise clients. Established in 1982, Interfacing has been within the BPM space since the early 90s, a pioneer in the industry.
Post a Comment
I love comments. Thank you for leaving one!