Monday, 31 August 2015

RECIPES: Olive Bread and more

Have I shared my Instagram account with you yet? It looks like I signed up a long time ago but never ended up using it after that one post that I made on the day at the time. Believe it or not, actually, I had to ask a friend of mine to send me my username details this year as I had no idea what I signed up as at the time. After I found 'me' on Instagram and worked out my log in details, I started to use it more often. I have shared the photo below there some days ago and am now posting the further details here. 

I now enjoy using Instagram and it has become another source of inspiration and help for me. In fact, just this morning, as I was going through some recipes from one of my favourite cook books called BREAD by Dean Brettschneider, I drooled over a recipe, Muesli Roll, and decided to give it a go before I realised that I had all the ingredients at home except for one. So, what did I do? I simply went on to Instagram and asked the inspirational baker Dean if I could replace that particular ingredient with anything and voila! He replied almost in an instant with all I needed to know, in detail too. Perfect! By the way, I have more baking and sewing related posts there if you want to check out. You are most welcome to add me to your following list if you wish to do so.

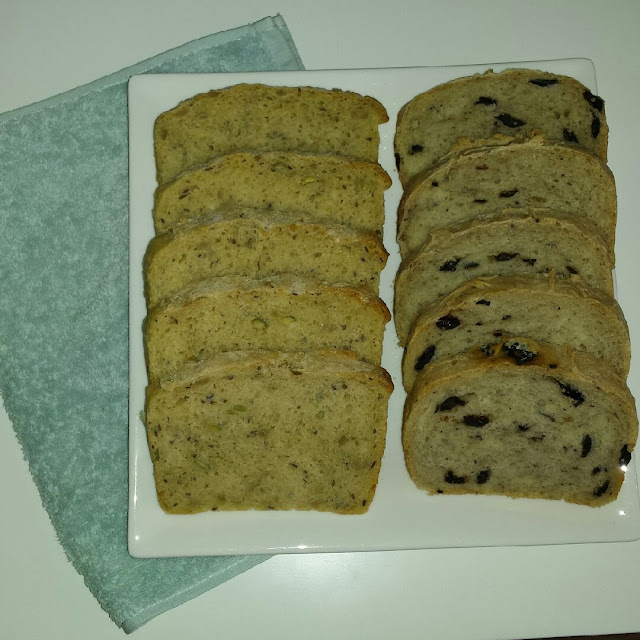
Here are some of my favourite and most often used bread recipes for you. The bread with seeds is an adaptation of my recipe and the olive bread recipe I had received from a friend of mine a while back. Both the recipes have never failed me so far and just between you and I, my recipes are generally 'if I can make it, so can you' type as I am still a pretty novice baker. 

Homemade olive bread and white bread with seeds

OLIVE BREAD

Ingredients:
- 3cups flour
- 1cup warm water (add a little more if needed)
- 2teaspoonsful instant yeast
- Approximately ¾ cupsful pitted black olive pieces
- 1 teaspoonful salt

Method:
Combine all ingredients and form ‘bread’ dough. Work it for approximately 6-10 minutes. Make a big ball with the dough and leave it in a large bowl. Cover it with plastic wrap and some kitchen towels to keep it warm. After about an hour or so, place the dough in a rectangle cake tin. Cover it up and wait at least for an hour to rise. Bake in a preheated oven (10-15mins before baking, turn on the oven at 200C) for 40-45 minutes.


BREAD WITH SEEDS

The loaf on the left was made with 3/4 organic plain flour and 1/4 with organic wholemeal flour. I have made it with some crunchy organic seeds which made the texture and the taste just amazing. Highly recommended. The recipe to this bread is here and the seeds I used for this particular time for this bread in the picture are;

* Pepitas (pumpkin seeds)
* Sunflower seeds
* Linseed
* Chia


Enjoy!

Monday, 24 August 2015

No Time to Waste, No Excuse to Make

I have always been one of those that find it hard to 'stand still'. I remember when I stopped going to work in the last week of my pregnancy with my first child and not being able to sit down and just watch something on TV even for one afternoon. I just could not do something that I had dreamt of many times when working full time, when I had the opportunity for it. I thought at some stage that it could be because of my nesting period at the time but later on, it was quite evident that I was just being 'me'. Oh well, it is not that bad, right?

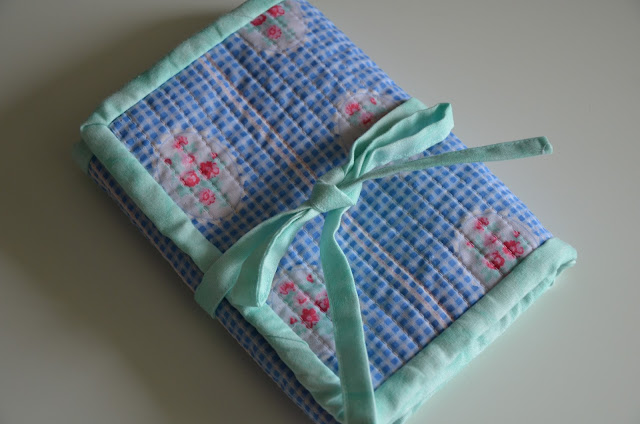
diy sewing kit

This year, I have a very busy schedule due to my commitments. It is so busy that I often utilise my waiting time that I get on a regular basis certain days of the week in the car as my reading or hobby crafting time. I also fit in some walking time in it too whenever I feel like it. So, those days that I am likely to get some time to kill (well, rather to wait in between two scheduled activities), I have my sneakers on (or somewhere in the car), have a book or two, a notebook or some scrap paper with some pens. As for crafting, I only bring something with me when I am able to organise a hand-crafting project that is small enough to carry around the night before to take with me the next day. When I do, depending on the amount of materials needed and the size of the project itself, I put everything I need in a small container or a larger box. It is OK, but I knew things could have been more compact and more mobile.

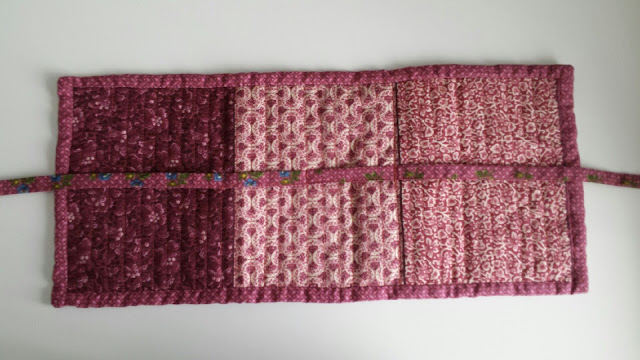
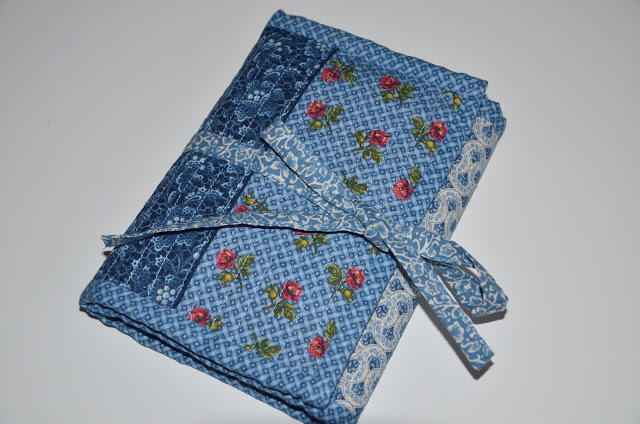
When I saw that 'Goody Goody Binding Kit' instagram photos (yay!, I have finally started using Instagram), I thought 'that was it'! I found the beautifully laid out tutorial of Vanessa Goertzen on her blog and voila! I made one too. Well, I started off with one, then made another, then another. It does take a bit of time to complete the project (and I must admit, the least joyful part of the whole project for me is that first fabric matching and cutting stages) but it just feels so good when you finish it. The possibilities are endless with it. I have made my own variations of the fabric placement and the inside design according to my own taste and needs but overall, the tutorial is a great start. Much recommended for anyone that is interested.

By the way, in case you haven't noticed, the over-grown strawberry and the flower are actually not just for the good looks. They are pockets. Isn't that clever of Vanessa to have come up with the idea?

Enjoy a fulfilling day!

binding kit

handmade crafting kit

portabel diy sewing kit

diy sewing kit with a zip


handmade binding kit

stylish sewing kit

unique binding kit

crafting on the go

portable kit for crafters

fabric crafting kit tutorial


Thursday, 6 August 2015

Tutorial: Handmade Cubes

This is one quick and easy project that even most novice crafters will achieve. This was one of the very first things I have ever made as an adult crafter, approximately 5 or 6 years ago. It is quite a flexible project too as you can decide on the size, the materials used (felt is very hassle free and is easy to hand-stitch but you can also make it with some durable fabrics too instead), pattern for the felt/fabric placement, the stuffing used (hobby-fill, shredded fabric scraps etc) and so on. 


Materials needed: 
- 6 pieces of same sized (eg 10cm) felt pieces (in this particular one, I have used 4 of the same and 2 of a contrasting colour for two opposite sides)
- Stuffing (I used hobbyfill for this cube)
- Two small bells (optional)
- A needle (or a sewing machine)
- Some thread

You can choose to sew the pieces together using a sewing machine or just settle on the couch in front of a TV and simply hand-stitch (blanket stitch works the best) while watching your favourite show. Sew or stitch all sides and corners except for half of one as you need it open to put the stuffing in. I recommend securing the bells to each other and also to the filling you use or a piece of fabric leave in the middle of the cube and put more stuffing all around for safety purposes before closing the open side.


You can use this idea to make letter or number cubes for educational or decorative purposes or you can simply make it and give it to a loved little one as a handmade toy. Just be mindful of the materials used and any open ends or stitches if you give it to a baby as they tend to put things in their mouth more often than not. However, toddlers are more likely to use these cubes as balls or stacking items.

Have a fulfilling day!