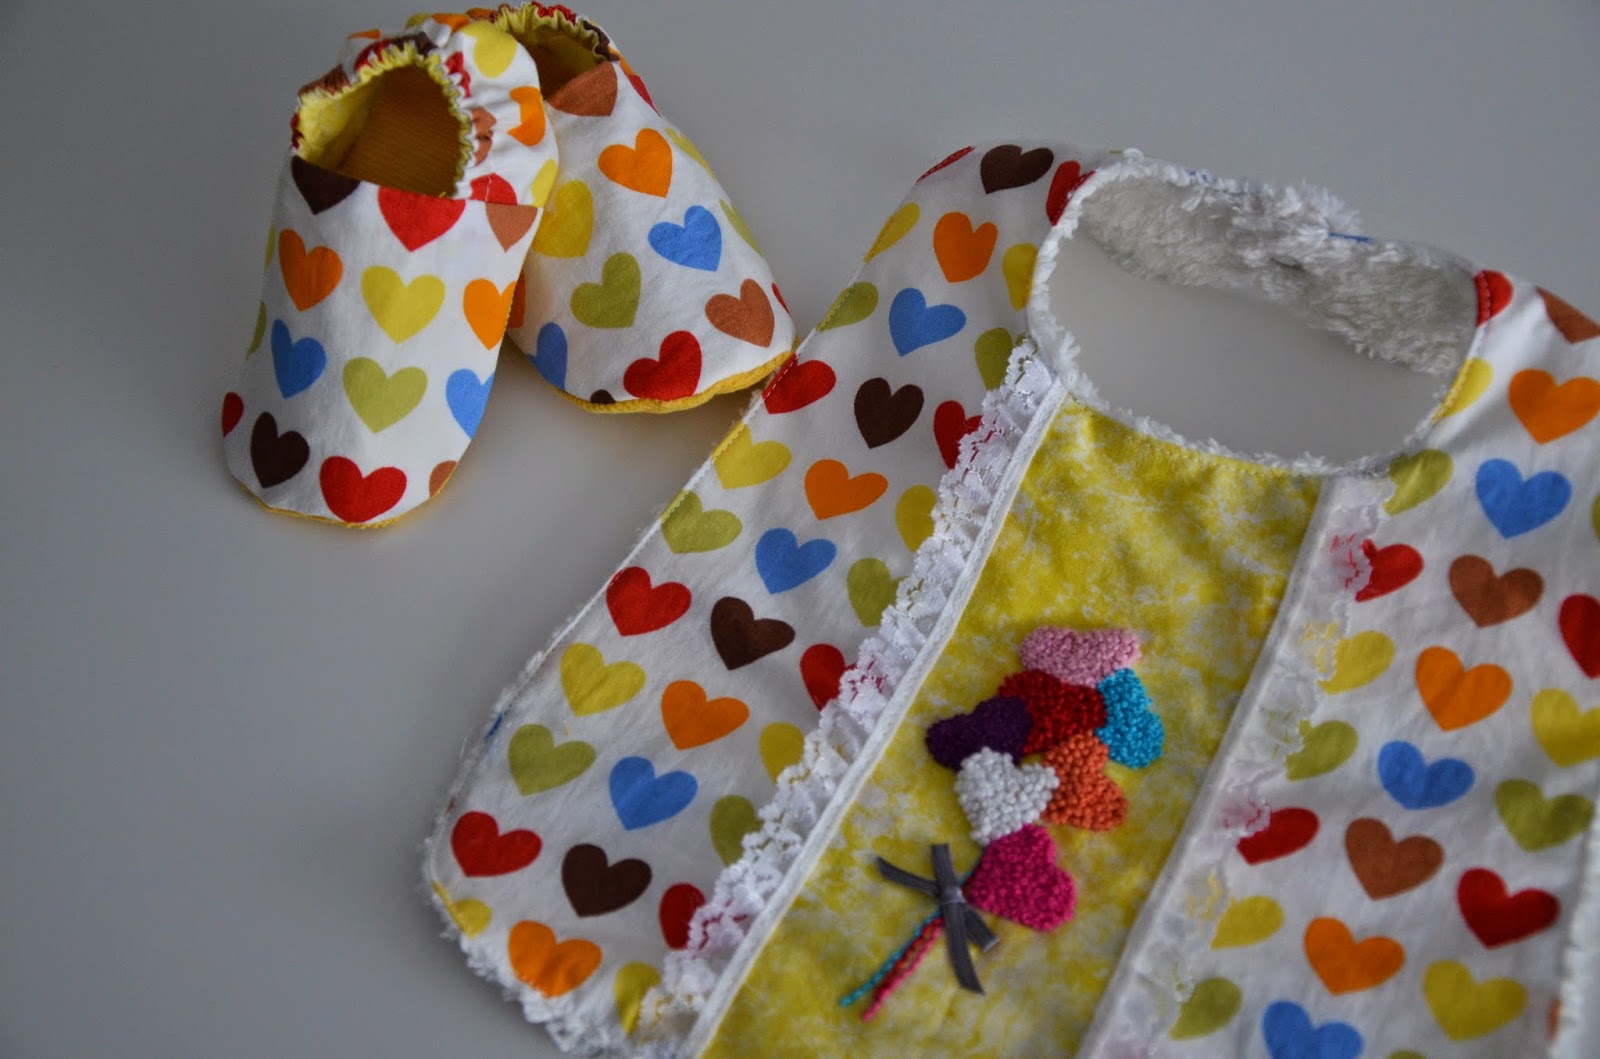
See the red love heart on top in the first picture below? Well, just that little love heart was formed with 77 French knots, so, let me warn you, working with French knots is something that needs patience and it needs a good amount of it. However, it is somewhat satisfactory and addictive too.
Here, I will be taking you through how to make French knots with baby steps, in case you are totally unfamiliar with it. However, firstly, I would like to share some brief information on this particular type of stitching.
French knots are a type of knotted stitches and are a basic element of embroidery. They are also classified as 'detached stitches'.
Now, lets move onto the step-by-step instructions.
1. Thread your needle. Make sure there is a knot at the end of your thread/embroidery floss.
 |
| Step 1 |
 |
| Step 2 |
3. With the needle-free hand, hold the end of the thread while gently pulling the thread up to cause some tension or a firm grip.
4. Wrap the thread around your needle twice (depending on how thick your thread is or how big you would like your knots to be, this number can vary. The more wraps, the bigger knots).
 |
| Steps 3 & 4 |
Note: Do not let go of the firm grip until all the thread is at the back, forming a small knot at the front.
Repeat instructions 1 to 5 to make as many French knots as you like for your project.

 |
| Step 5 |
 |
| Ta dah! Here is your first French knot! |
Repeat instructions 1 to 5 to make as many French knots as you like for your project.
What you can make with this technique is endless. I hope this tutorial inspires you to come up with your original designs and unique projects. Below are some of my designs for MADE BY Y. Enjoy!


